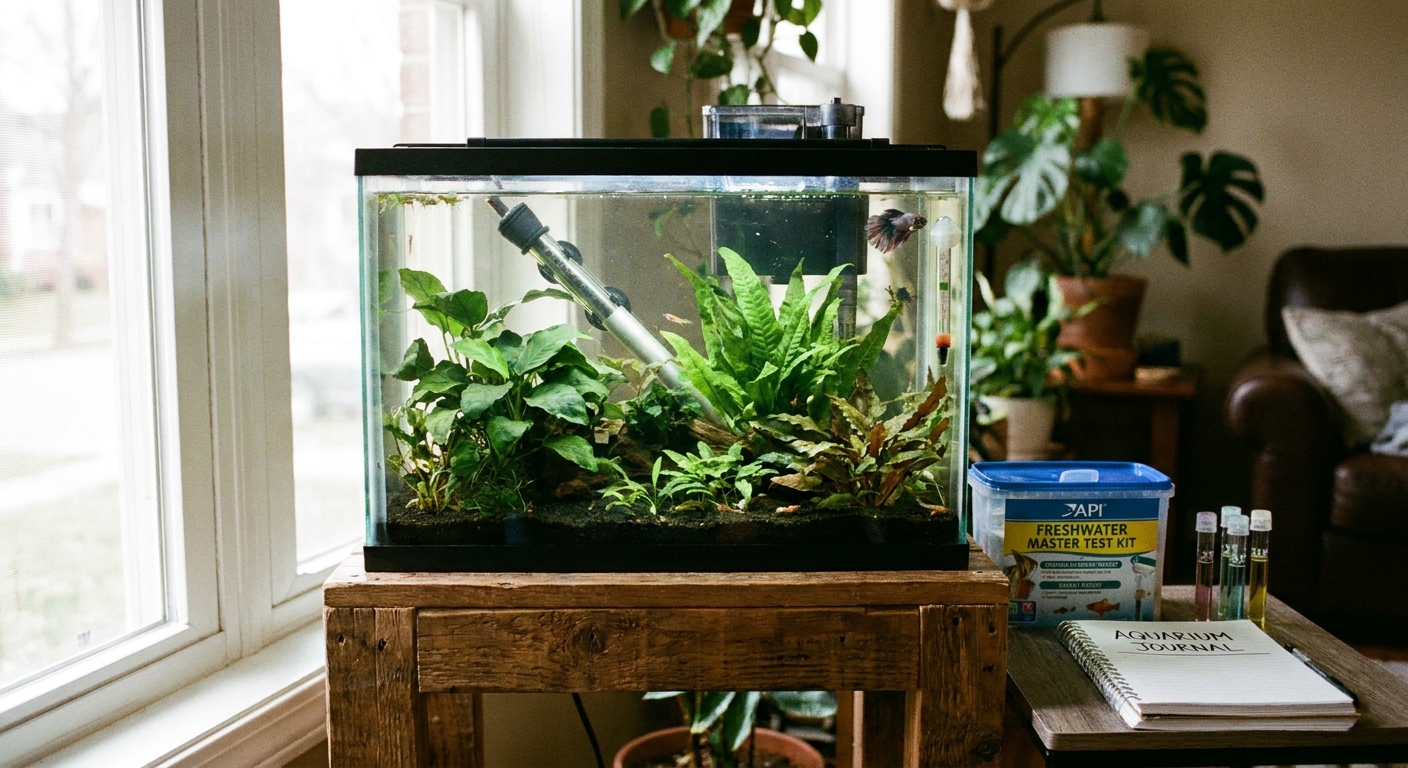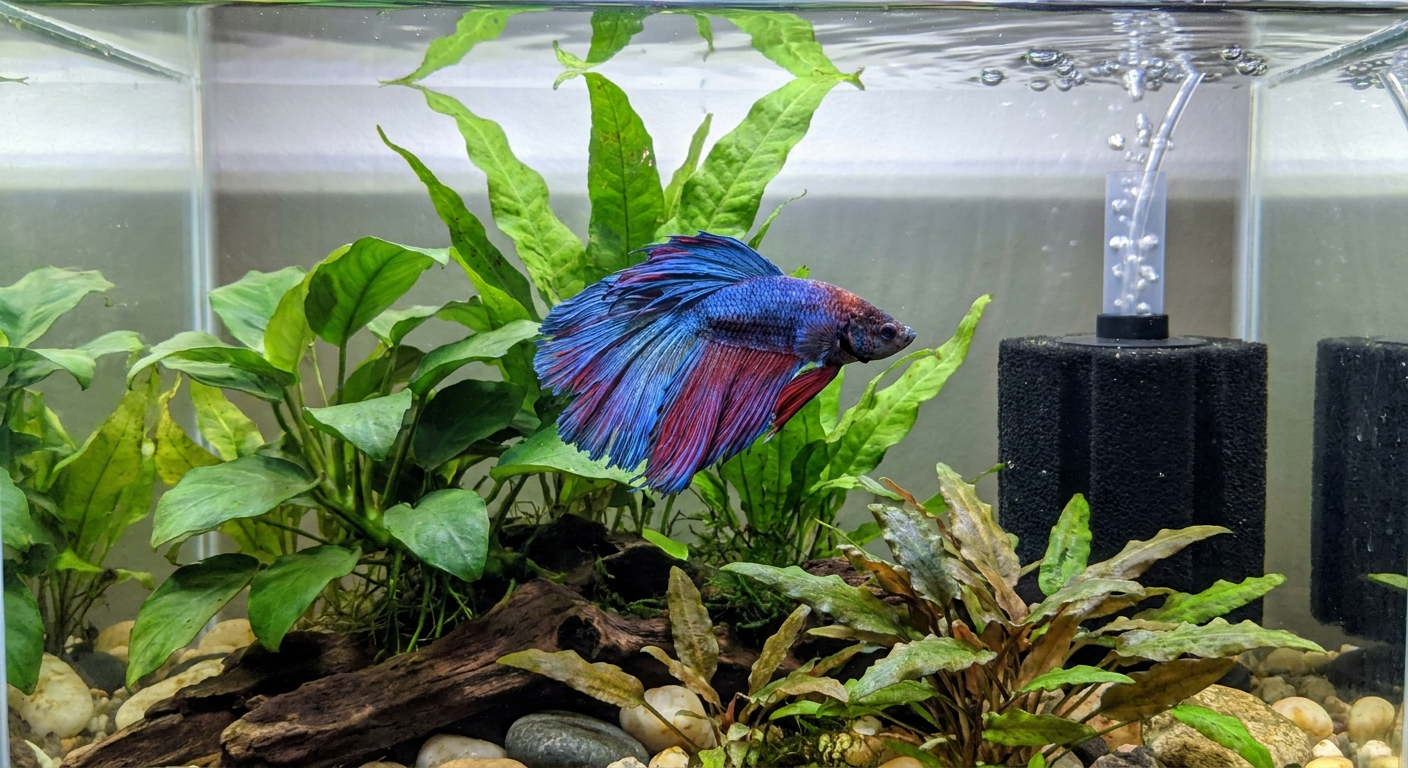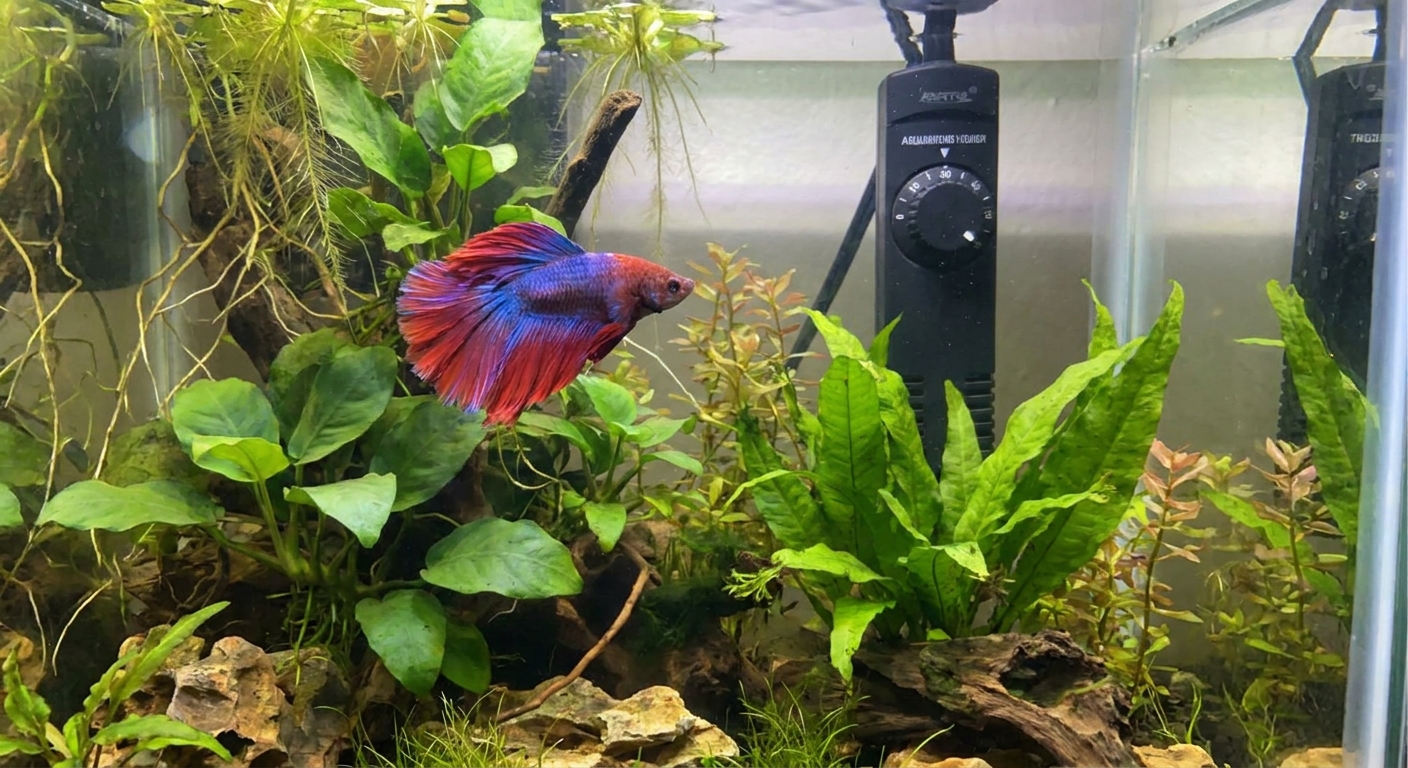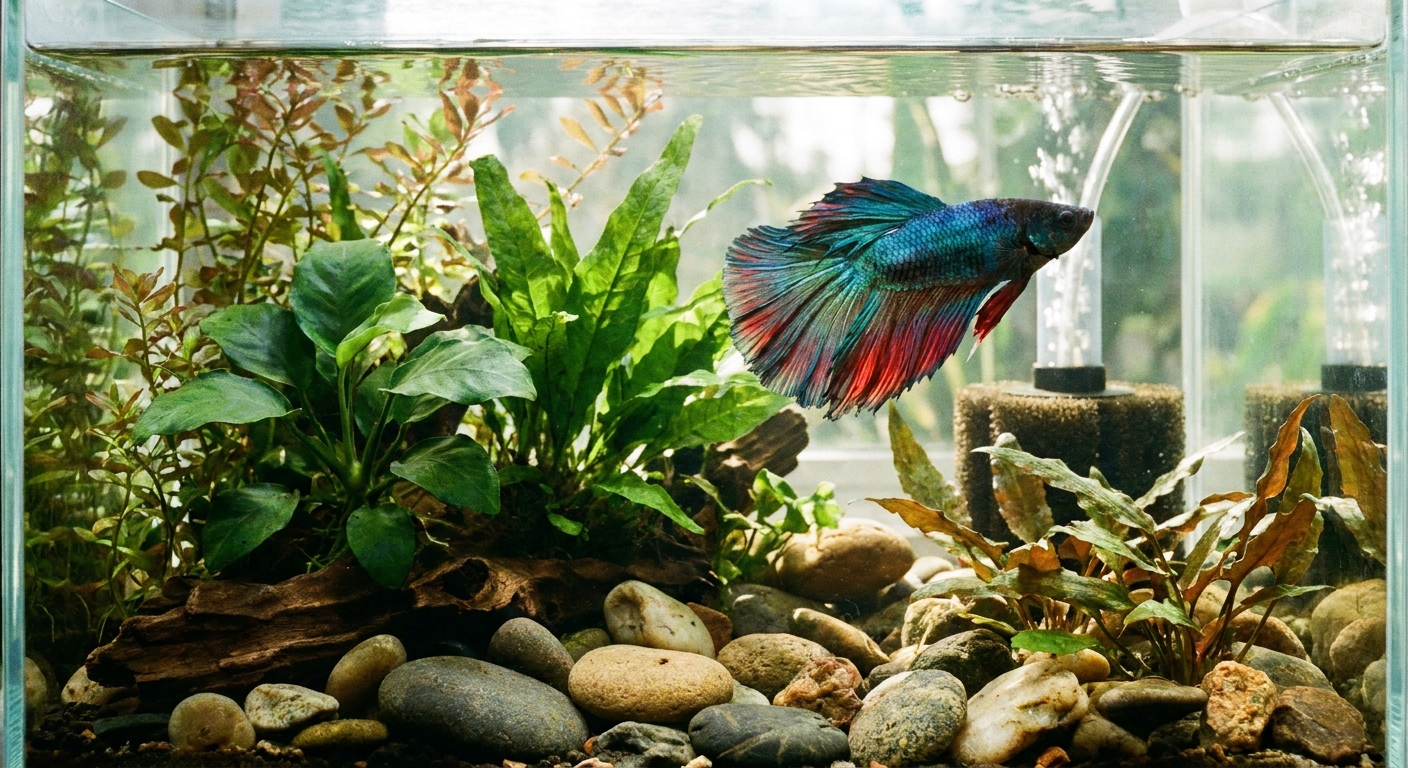

Let’s make your tank the happiest little splash in the house! Setting up a betta home is all about three big wins: safe water, cozy comfort, and a calm layout that lets your finned friend explore without stress. Below is a true start-to-finish walkthrough, including what to rinse, what to plug in (and when), and what must happen before a betta moves in.
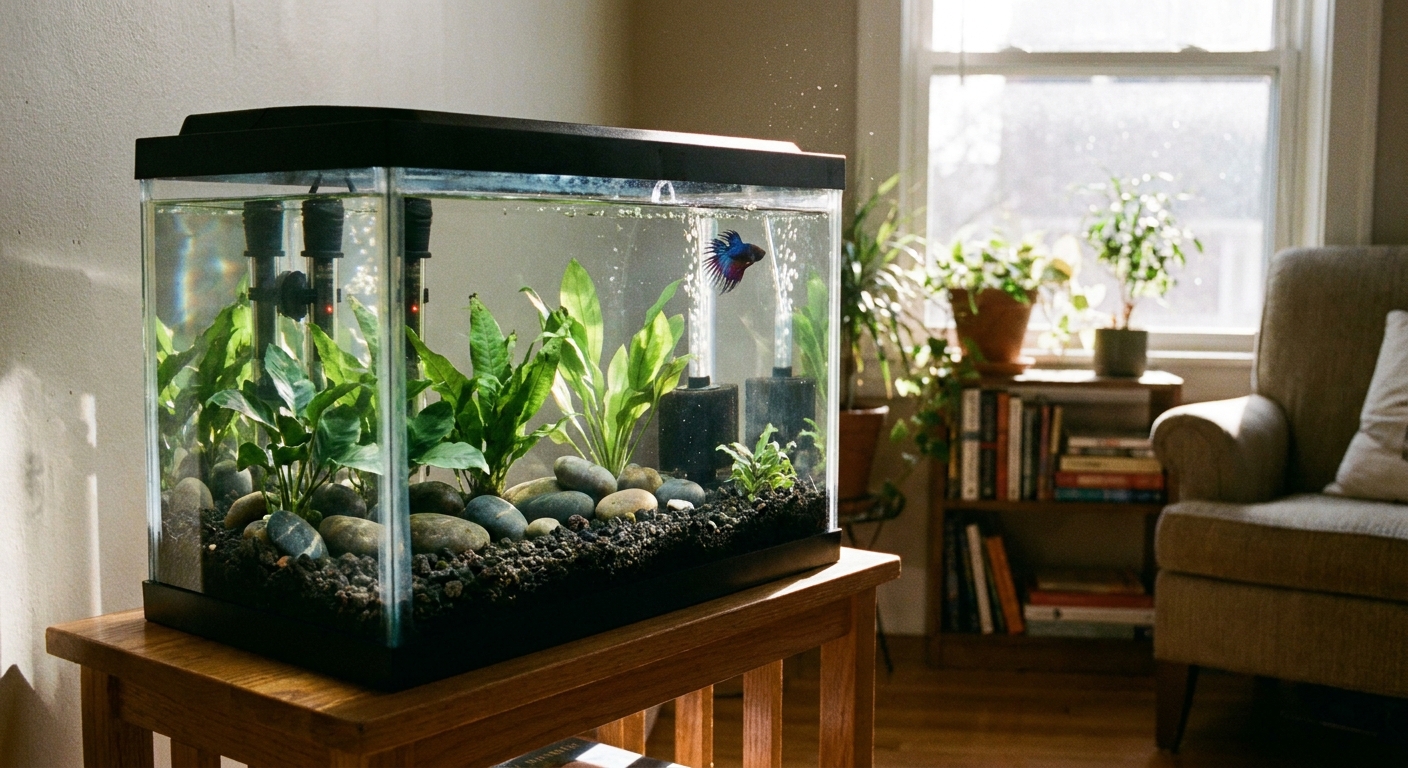
Before you start: what you need
Gather everything first so you are not scrambling with wet hands later. New tanks feel extra exciting, but a calm setup day helps everything seat properly and run safely.
Tank and equipment checklist
- Aquarium: 5 gallons minimum is the sweet spot for stable water. (Bigger is even steadier.)
- Lid: Bettas can jump, even when they look relaxed.
- Filter: Gentle flow, ideally adjustable.
- Heater: Adjustable is best for control and consistency.
- Thermometer: Stick-on or in-tank, as long as it is easy to read.
- Light: Especially important for live plants and day-night rhythm.
- Substrate: Sand or smooth gravel. Avoid sharp pieces that can snag fins.
- Decor and hides: Smooth hardscape, caves, driftwood, and betta-safe plants.
- Water conditioner: Must neutralize chlorine and chloramine.
- Test kit: A liquid kit is ideal for cycling and troubleshooting.
- Optional but helpful: A siphon (gravel vacuum), bucket only used for the aquarium, algae scraper, and a timer for the light.
If you are still choosing a tank size, this comparison helps you pick a comfortable footprint: 5-gallon vs 10-gallon tank for bettas.
Step 1: Pick the best spot
Where the tank sits affects temperature stability, algae growth, and stress levels.
- Choose a level, sturdy surface that can support the full weight of a filled aquarium.
- Avoid direct sunlight from windows, which can overheat the tank and fuel algae.
- Keep it away from vents and drafty doors for stable temperature.
- Place it near an outlet so cords are not stretched or pinched.
- Plan for maintenance space above the tank so you can remove the lid and work comfortably.
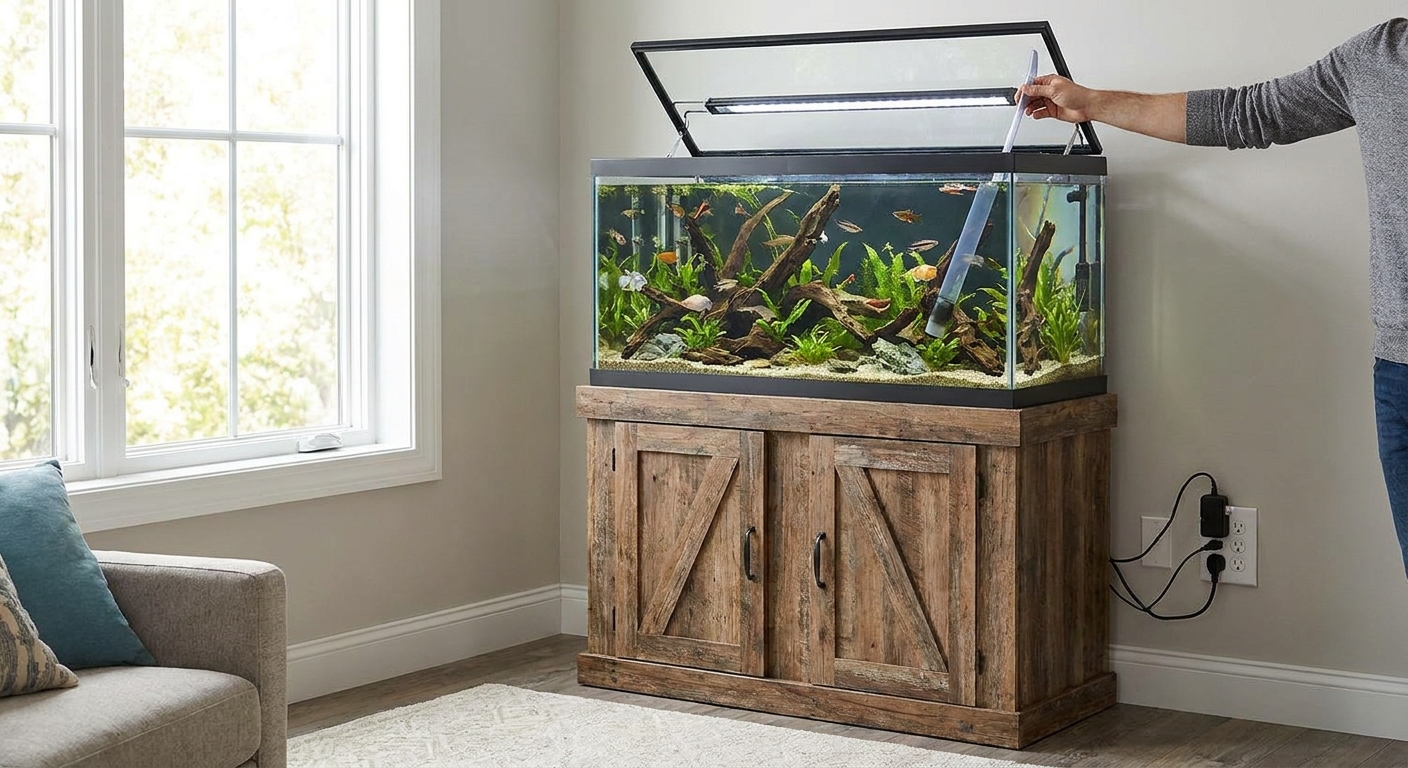
Step 2: Rinse the tank, substrate, and decor
This step keeps the water clear and prevents dusty grit from coating everything.
Rinse rules
- Do not use soap on the tank, decor, or anything that will go in the aquarium. Plain water is the safe choice.
- Rinse substrate in a bucket until the water runs mostly clear. Expect sand to take longer than gravel.
- Rinse rocks and decor to remove dust and shipping residue.
- Check decor edges by gently running a finger along them. If it feels sharp to you, it is risky for fins.
Step 3: Add substrate and hardscape
Now the tank starts to look like a home. A tidy layout also makes cleaning easier later.
- Add rinsed substrate to the empty tank. Aim for about 1 to 2 inches for most setups. If you are doing lots of rooted live plants, a slightly deeper bed can help them anchor.
- Slope it slightly from back to front. This gives a nice sense of depth and helps debris settle where you can siphon it.
- Place heavier items like rocks and driftwood directly on the glass bottom, not on top of loose sand that can shift.
- Create at least one hide so your betta can retreat and rest.
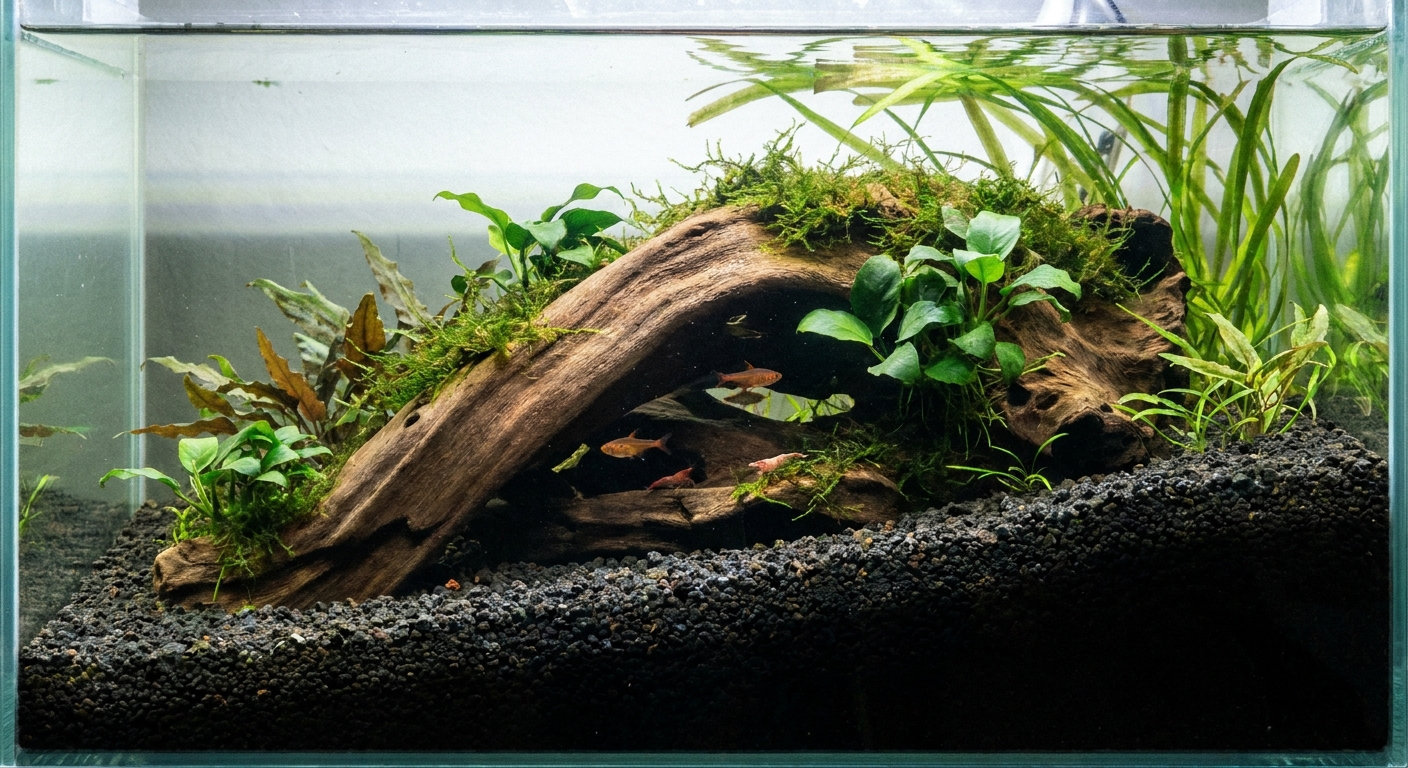
Step 4: Add plants
Bettas love places to weave through, pause, and perch. Plants also help break up sightlines so the tank feels calmer.
Live vs silk plants
Either can work beautifully when chosen carefully. If you are deciding between plant types, swim over to: Live vs silk plants for bettas.
Plant placement tips
- Leave swimming lanes along the front and middle.
- Create a leafy area near the surface where your betta can rest close to air.
- Avoid hard plastic plants that can tear fins.
- Anchor decor securely so nothing topples during cleaning.
Step 5: Install the filter and heater
This is where many first-time setups get wobbly, so let’s keep it steady and safe.
Filter setup basics
- If your filter media is dusty out of the box, a quick rinse in dechlorinated water can help prevent cloudiness.
- Position the outflow to keep the surface gently moving, not blasting the tank like a river.
- If your filter is adjustable, start on the lowest flow and increase only if needed.
Important for later: once your tank is cycled, do not rinse established filter media under tap water. Chlorine can harm the beneficial bacteria that keep your tank stable. If you need to swish out gunk, use old tank water during a water change.
Need help picking a gentle option? Visit: Choosing the right filter for a betta tank.
Heater placement basics
- Place the heater where water circulates, often near the filter flow path.
- Keep it fully submerged if the heater requires it.
- Use a thermometer in the tank to confirm the actual temperature.
- Safety habit: unplug your heater before water changes, and let it sit a few minutes so it can cool while still submerged. This helps prevent cracking from sudden temperature changes.
- Optional: if your heater sits where your betta can brush against it, a heater guard can add peace of mind.
For a deeper walkthrough on safe positioning, see: Betta tank temperature and heater placement.
Step 6: Fill the tank
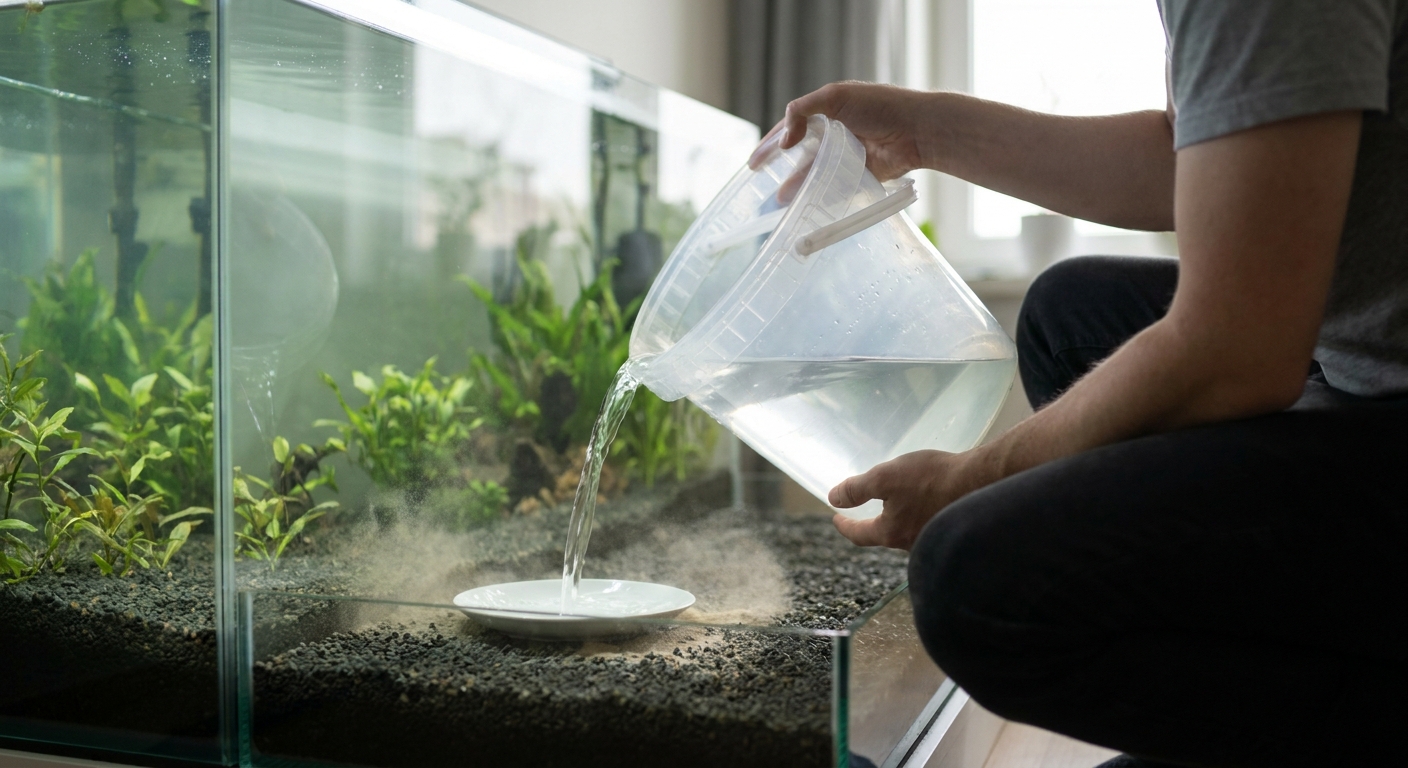
Filling can kick up substrate and cloud the water. The trick is to pour gently.
- Place a small plate or bowl on the substrate.
- Pour water onto the plate so it diffuses softly.
- Add water conditioner as directed. Some products dose for the full tank volume, others dose for the amount of new water you are adding. Follow your bottle.
- Fill to the appropriate level for your filter, leaving a little air space under the lid.
Water temperature target
Most bettas do best with stable warm water, commonly around 78 to 80 F. Stability matters as much as the exact number. Use your thermometer to verify and adjust your heater slowly, not in big jumps.
Step 7: Power up safely
Once water is in and conditioned, it is time to bring the tank to life. The goal here is not a magic order, it is a safe startup that protects your equipment and keeps things steady.
- Heater: if your heater manual says to wait before powering on, follow that. Many heaters need time to acclimate in water before they are plugged in.
- Filter: prime it if required, then turn it on. Confirm flow is gentle and consistent.
- Light: keep lighting modest during the first week to discourage algae while the tank settles.
Quick safety checks
- Look for drips around seams, hoses, and filter connections.
- Create drip loops in cords so water cannot run straight into outlets.
- Confirm the heater stays submerged and the thermometer reading climbs gradually.
Step 8: Cycle the tank first
This is the step that protects your betta’s gills and keeps the water from turning toxic. Cycling grows beneficial bacteria that convert ammonia into nitrite, and then into nitrate.
New tank truth: clear water can still be unsafe water. The test kit is what tells the real story.
Timing heads-up: cycling usually takes several weeks, not a couple of days. It is normal for it to feel slow, and it is worth it.
What cycling means
- Ammonia: comes from waste and uneaten food, and is dangerous.
- Nitrite: also dangerous, appears as cycling progresses.
- Nitrate: less toxic in low to moderate amounts, managed with water changes and plants.
For the full step-by-step cycling process, follow this guide: How to cycle a new betta fish tank.
Step 9: Final pre-betta checklist
Before any fish arrives, the tank should be calm, stable, and predictable.
- Temperature stable for at least a day.
- Filter running smoothly with gentle flow.
- Water tests match a cycled tank: ammonia 0 ppm, nitrite 0 ppm, and nitrate present (then kept under control with maintenance and plants).
- No sharp decor and no tight holes a betta could wedge into.
- Hides and resting spots available, including near the surface.
- Lid fits securely.
Step 10: Add your betta safely
When the tank is ready, a gentle introduction helps your betta settle in with less stress.
- Turn the aquarium light off to keep things calm.
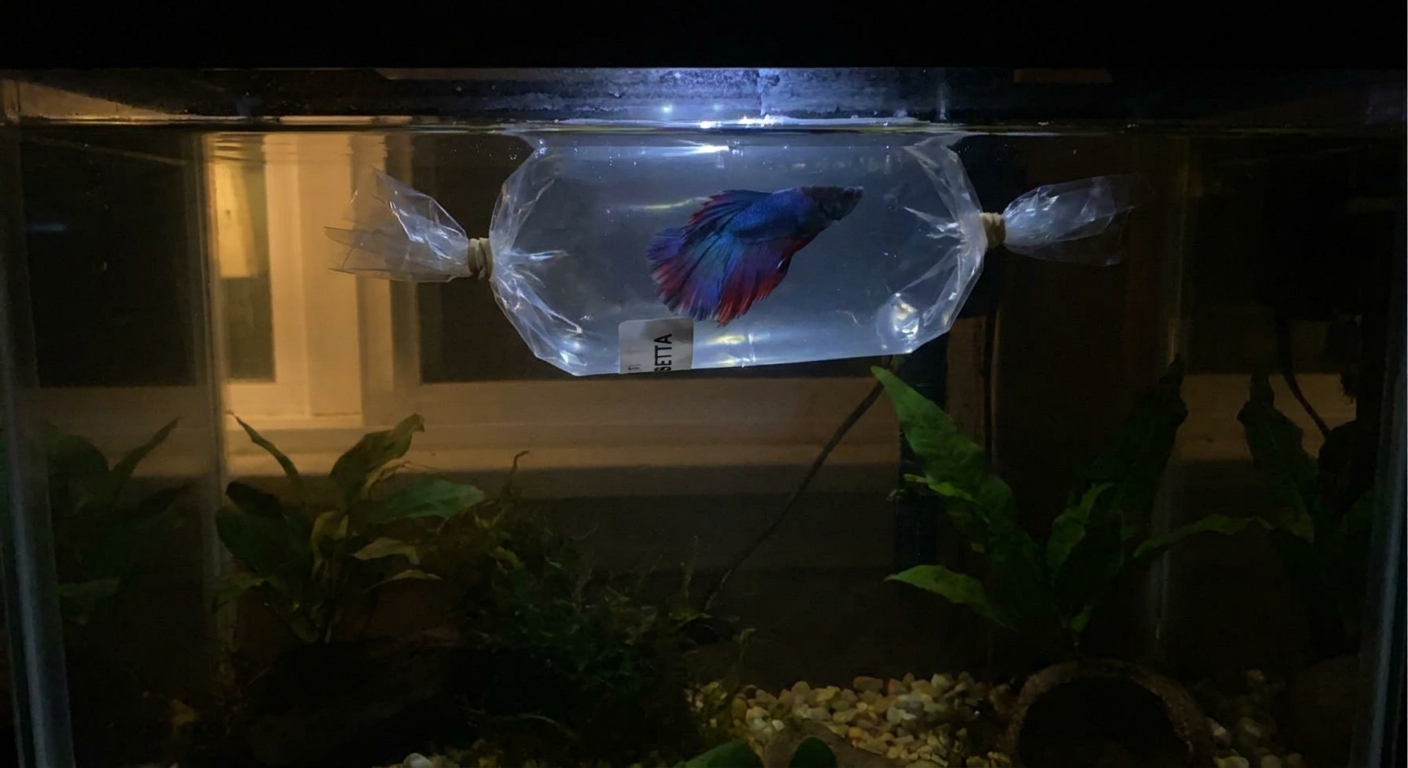
- Float the unopened betta cup or bag in the tank for about 15 to 20 minutes to help match temperature.
- Add small amounts of tank water to the cup or bag over 15 to 30 minutes.
- Use a net or careful pour to transfer the betta into the tank. Avoid adding store water into your aquarium when possible.
- Leave the light off for a few hours and offer food later, not immediately.
Small but helpful note: try not to stretch acclimation too long if the cup water is dirty. A calm, steady acclimation is great, but you do not want your betta sitting in old water for ages.
First-week care
The first week is for observing and stabilizing, not constantly changing things.
- Test water regularly and write results down if that helps you spot patterns.
- Feed lightly while your betta adjusts. Remove uneaten food.
- Watch behavior: normal exploring, resting, and gentle fin movement are good signs.
- Keep a consistent light schedule to support rest and reduce algae.
Once your tank is cycled and stable, many betta keepers settle into a simple routine of regular partial water changes. Your exact schedule depends on tank size, stocking, and plants, but consistency is the real secret sauce.
Troubleshooting common issues
Cloudy water
- Cause: substrate dust or a bacterial bloom in a new system.
- What to do: keep the filter running, avoid overfeeding, and test water. Cloudiness often clears as the tank stabilizes.
Filter current is too strong
- Signs: betta gets pushed around, hides constantly, struggles to reach the surface.
- What to do: turn down the flow if possible or use a sponge prefilter or baffle to soften the output. Gentle is the goal.
Temperature swings
- Signs: thermometer fluctuates several degrees across the day.
- What to do: move the tank away from drafts or sun, confirm heater size is appropriate, and keep the lid on to retain heat.
Algae bloom early on
- Cause: too much light, too long of a photoperiod, or direct sun.
- What to do: shorten the light schedule, avoid window light, and do regular maintenance. Algae is a common new-tank phase.
FAQ
Can I set up a betta tank the same day I bring my betta home?
It is much safer to set up the tank first and complete the cycling process before bringing a betta home. A same-day setup often leads to a fish-in cycle, which requires extra testing and careful management to protect the fish.
Do bettas need a filter?
In most home aquariums, yes. A filter supports stable water quality and reduces how often the tank swings into unsafe conditions. The key is choosing a gentle filter and keeping the flow betta-friendly.
Do bettas need a heater?
Most bettas do best with warm, stable water. In many homes, room temperature is not stable enough. A reliable heater plus thermometer helps keep conditions steady.
How long should I keep the light on?
A consistent schedule is best. Many setups do well with a moderate daily photoperiod. If algae appears quickly, reduce light duration and avoid direct sun.
Swim onward
A first betta tank setup is a big, splashy milestone. Focus on the fundamentals: a stable warm temperature, gentle filtration, safe decor, and a fully cycled aquarium. When those pieces click into place, your betta gets to do what bettas do best: explore, perch, and show off those beautiful fins in a home that truly supports them.
If you want more help building an easy care routine, browse the Tank Setup & Environment guides anytime.